Hot Chocolate

Ok, super short post, but this is necessary since the weather is getting colder and it’s time for hot chocolate.

You want hot chocolate, but don’t have any mix in the house, and the good stuff is pricey anyway. Just make some yourself. Have sugar? cocoa powder? Great, that’s the basics right there. Just remember 2:1 — 2 parts sugar to 1 part cocoa. Then you can add a pinch of salt, a couple dashes of cinnamon, or whatever else you’d like. You can make up some mix and put it in a container for now and later. Then to make it, take 2 tsps of mix, 1 cup warmed milk (I use unsweetened almond milk.), maybe a squirt of vanilla extract, and you’re set.

A couple of years ago there seemed to be a dutch processed cocoa craze, but I find it limited in use and generally don’t buy it. It’s just cocoa processed with alkali, but because of the alkali it doesn’t work as well in most recipes that call for cocoa powder. Usually they’re talking about the normal stuff, not dutched. Dutched does make great hot cocoa tho, so feel free to use that here. If you’d like to learn more about dutch processed cocoa, there’s a great article here on Serious Eats: https://www.seriouseats.com/difference-dutch-process-natural-cocoa-powder-substitute.

Now, on to the recipe…

Ingredients

The first 4 are for the cocoa mix:

  • 1 c. (200 g) sugar
  • 1/2 c. (about 50 g) cocoa
  • pinch salt (optional, about 4 twists of a salt mill)
  • couple dashes cinnamon (optional, or chile, also optional, or neither)
  • 1 c. (8 oz, 240 g) milk
  • vanilla extract (optional)

Directions

  1. Warm up 1 cup milk in the microwave.
  2. Place 2 heaping teaspoons cocoa mix in your favorite hot chocolate mug. Put the rest of the cocoa mix in another container for later use.
  3. Add a little bit of the warmed milk (maybe 1/4 c? You just need enough to dissolve the mix.). Stir well.
  4. Add the rest of the milk and a squirt of vanilla if you’d like. Stir.
  5. Top with non-dairy topping, marshmallows, etc or not.
  6. Enjoy!

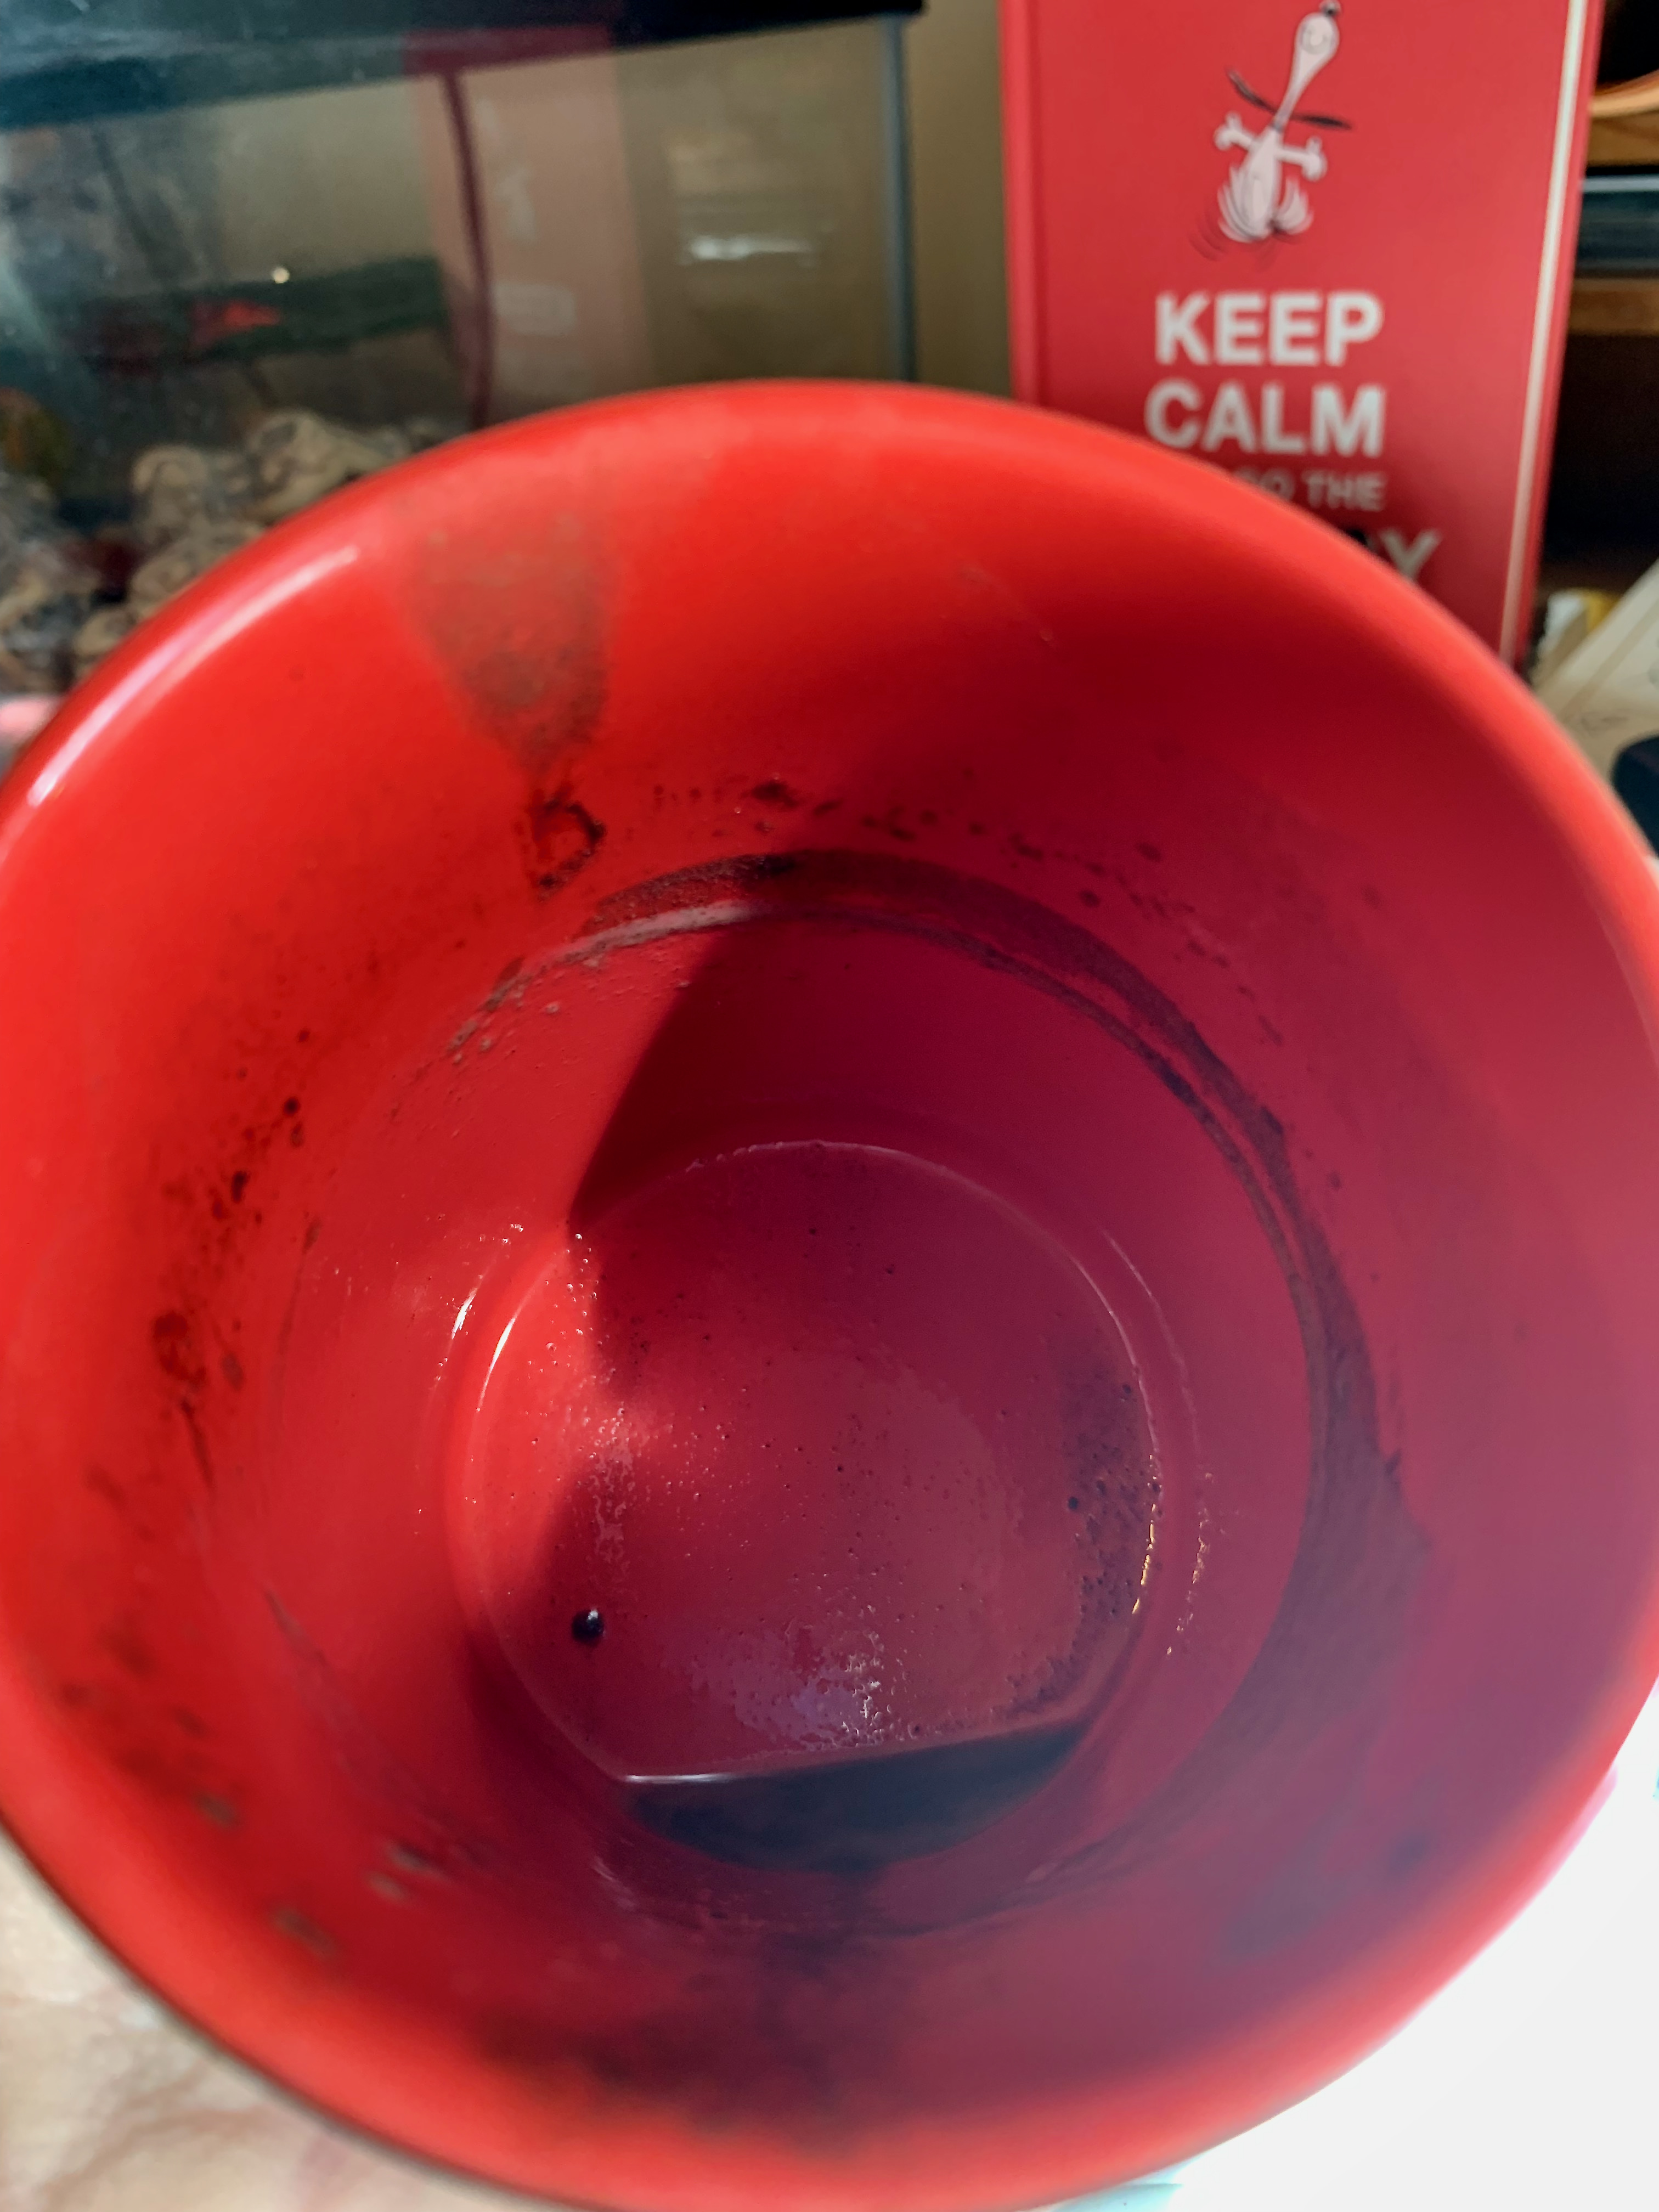
I know I should show a picture of a nice wide, white mug with hot chocolate and whipped cream or marshmallows, but 1) I didn’t use whipped cream, 2) it was in my Lego mug, and 3) I drank it before I got a picture. So, silly picture time. See in the instructions how I didn’t add the milk all at once? That way the cocoa mix all dissolves and stirs up smoothly. No powder glops while I was drinking or in the bottom of the mug:

A Solar Oven and and Learning to Bake


Hi all,

So this is my oldest son with his solar oven homework.

Take a pizza box and glue foil along the bottom and sides.  Lay black construction paper in the bottom.  Cut a top flap that is an inch smaller than the top of the pizza box.  Glue foil to the top flap. Tape plastic wrap over the opening with masking tape.  Be sure to tape all four edges.

Remember how a pizza box closes?  The front flap you see actually opens for food to slide in and out of the oven.  Tape a short piece of string to the top (about 12″) so that you can tape the other end of the string to a table or whatever the oven is sitting on so that you can hold the flap open at an angle while the food cooks.

Ok.  So, do you see the s’mores in the box?  They should have been topped with another graham cracker and wrapped with foil before putting in the oven according to his teacher, but this actually worked fine.  You do need to leave them out most of the day tho.

The other thing about the s’mores in the box?  My son can’t actually have those, not the marshmallow, the chocolate, nor the graham cracker.  He also can’t have gluten, corn, oats, or many other things right now because he’s on what’s called an elimination diet.  You remove all potential food allergens or irritants to allow the gut to reset and be happy.  For six months now, his head and stomach have been in constant pain.  Yes, even in the picture; he’s learned to hide it.  No 10 yo should have to do that.  (btw, his hair is long ’cause he grows it for locks of love.  That and he likes long hair :).

When the pain is gone, or between 4 and 6 weeks if it doesn’t go away, we will start adding back in, one by one, all of the foods we’ve dropped so that we can determine which ones are problems.  We did find out yesterday that there is a possibility they missed Crohns in the small bowel, but we’re also fairly sure he has food intolerances.  Gluten is one (he was off for three weeks and then back on and was worse when he was back on; we went through this twice so it’s fairly clear.  lactose is also a problem currently).  There may be others, but right now all food irritates him so we’ve got to get his gut cleared up if possible.

Why am I telling you all of this?  For one thing, it’s ’cause I know some of you have been kind enough to follow this blog or check in now and then to see what’s new and there hasn’t been anything.  For another thing, I may well need to learn to bake again, without who knows what. Gluten, corn [think about it; it’s in everything (vanilla – corn based alcohol; confec sugar – corn starch; baking powder – corn starch (tho you can make your own w/o); even xanthum gum, used in a lot of gluten-free cooking, can be derived from corn)] , etc.

We will eventually get back to our around the world dinners and I’ll eventually bake again, but I won’t be posting to the blog regularly for a while.  We may well end up eating a whole lot healthier after this and actually like it! 🙂  We shall see.  But change, we must.  My baby needs to be pain-free if at all possible.

Thank you for stopping in and be sure to subscribe so you’ll get new posts when I do start back up.  I still have to post Burkina Faso and Cambodia!  🙂

Chocolate Mousse

So, according to my better half, it is National Chocolate Mousse Day.  Well, I couldn’t pass that up.  So, in honour of National Chocolate Mousse Day, I present to you today, not one, but two recipes for it.  Grab the lactaid tablets if you need them ’cause we’re talking lots of cream…

Mise en place.  Pick your poison — semi sweet chocolate (chips work fine as does a bar) or cocoa (Penzey’s natural is my fav).  You’ll also need heavy whipping cream, vanilla, and sugar if you’re using cocoa.  If you’re gluten-free, please be sure to read your labels for your vanilla and chocolate to be sure they’re gluten-free.

These are both super quick recipes and very easy.  The one with the cocoa powder is what I use when I make triple chocolate torte (recipe coming eventually! :)), but frankly they both taste very similar.

CHOCOLATE MOUSSE (using chocolate chips or a chocolate bar):

(adapted from Luscious Chocolate Desserts by Lori Longbotham)

Ingredients:

(fyi, for liquids similar to water in weight, ml and grams are about the same.)

8 oz (227 g) semi-sweet chocolate (both chips and bar work.  I used Ghiradelli chips ’cause they were cheaper)

2 c. (473 ml, 473 g) heavy whipping cream, *divided*

1-1/2 tsp (7.5 ml) vanilla extract

pinch salt , optional

Directions:

1. Bring 1/2 c. (118 ml) heavy whipping cream to a boil in a small saucepan.

2. Remove pan from heat and stir in chocolate, vanilla, and salt (optional) until the chocolate is melted.  Let cool to room temperature.  (If you’re in a rush, transfer it to a glass bowl for quicker cooling; it will be room temp within a few minutes.)

3. Pour remaining cream into a mixing bowl and mix on med-high (I put the wire whip attachment on my stand mixer and set the speed to 6.) until it’s starting to thicken up and you can see trails from the mixer in the cream.  You do _not_ want the cream to form peaks at this point.

4.  Turn the mixer to low and gradually add the room temp chocolate mixture.  You can either drizzle it in while it’s mixing or add it in a few batches.  Once this is mixed in, you’re done!

Pretty easy, no? 🙂

CHOCOLATE MOUSSE (using cocoa and sugar):

(adapted from Hershey’s Best Cakes)

Ingredients:

(fyi, for liquids similar to water in weight, ml and grams are about the same.)

2/3 c. (135 g) sugar

1/3 c. (27 g) cocoa (natural, not dutched)

1-1/2 c. (355 ml, 355 g) heavy whipping cream

1-1/2 tsp (7.5 ml) vanilla extract

Directions:

1. Combine sugar and cocoa in mixing bowl.

2. Add cream and vanilla.

3. Whisk together briefly to start it and then mix on medium speed for about 3 minutes, until stiff.

How’s that for easy?!  🙂

Let me know if you have any questions and enjoy your mousse!

Eat Dirt Dessert

Here’s another no-bake recipe; sorry, but life is just not always what we expect, no?  I’ll get back to baking soon, but right now I’m at a time where I need less time/fuss recipes.  So my youngest munchkin turned 6!  I can’t believe it; my boys are just growing way too fast.  Being super strapped for time, I suggested this for his dessert and he loved it.  I adapted it from a recipe that was given to me twenty years ago (gulp :)).  It’s wonderfully creamy with a hit of chocolate and is pretty fast to put together (I think I took 30 minutes start to finish.).

All you need are Oreo cookies, vanilla pudding mix, milk, butter, cream cheese, and confectioner’s sugar.  I use lactose-free, fat-free milk ’cause that’s what I drink.  I also use Neufchatel cream cheese, which is lower in fat yet still really good, but everything else is the non-low versions.  Feel free to lighten up this recipe as you so desire with low sugar/fat or sugar free / fat free products.

EAT DIRT DESSERT 

Ingredients:

2 small packages (6.8 oz, 192 g all total) of instant vanilla pudding mix

4 cups (900 g) cold milk

1 stick (1/2 c., 113 g) butter

1/3 c. (45 g) confectioner’s sugar

1 package (8 oz, 227 g) Neufchatel cream cheese

1-1/2 containers (12 oz, 340 g all total) cool whip, thawed in the fridge

1-1/2 packages (24 oz, 680 g all total) Oreos (I use regular; use whichever you prefer.)

colored sprinkles

Directions:

1. Put pudding mix in a large bowl.  Mix in milk and set aside for a few minutes to firm up some.

2. Cream together butter and cream cheese in a large mixing bowl.  Use medium to medium-high speed and the flat beater if using a stand mixer.

3. Sift the confectioner’s sugar if lumpy and add to the butter/cream cheese mixture.  Mix well.

4. Stir in prepared pudding and cool whip.

5. Place Oreo cookies about a dozen at a time in a ziploc bag and smash with a rolling pin or the back of a small, sturdy frying pan.  An 8″ cast iron skillet makes quick work of this :))  Once turned to crumbs, place in a medium bowl and set aside.   Don’t worry if they’re a bit lumpy.  Continue until all cookies are crushed.

6.  Layer the cookies and cream mixtures in a trifle dish, clean flower pot, clean dump truck (serve with a shovel :)), or other deep dish, starting and ending with the dirt.  Sprinkle dirt layers with colorful sprinkles if so desired; I don’t, but it would be very colorful and kids would love it :)).  If you have any leftover cream mixture, it freezes well so you can save it.

7.  I sprinkled the top with candy sprinkles, but you can add gummy worms or wrap the bottom of a plant in plastic wrap and stick it down in there to make it look like a potted plant.

Enjoy!

Vanilla Blueberry Syrup

So I went to make waffles for the kids this morning and realized I was out of maple flavoring to make the syrup.  Ok, what to do.  Make Vanilla Syrup?  I use both vanilla extract and maple flavoring to make my syrup normally.  Then I remembered some blueberries I had in the freezer and thought, aha! blueberry syrup!

So I threw a cup of frozen blueberries into a saucepan, added water, white sugar, and brown sugar and brought it to a boil.  After a little while, when the blueberries were bursting and it was starting to thicken a little, I strained out the blueberries, squishing them a little in the strainer to get more juices out, and returned the syrup to the pan.

A little more thickening and it was time to taste.

A spoon. A sip. and aaaah 🙂

But then what did I do?!  Me and my vanilla habit 🙂  I added 1/2 a teaspoon (2.5 ml) of vanilla extract.  That was it!   Not much, right?  What did I discover?  That the blueberries really brought out the vanilla flavor 🙂

So it was still quite good, but I probably should have either left it as is or added just a smidge of lemon juice to brighten the blueberry flavor, like I do in my pie, if I truly wanted blueberry syrup.  Nonetheless I thought it was very worthy of a post, both for the flavor and for the bizarre discovery.

Thus Vanilla Blueberry Syrup was born, with a wonderful flavor of vanilla amongst blueberry overtones.

Ingredients:

1 c. (135 g) frozen blueberries

1/2 c. (4 oz, 113 g) cold water

1/2 c. (100 g) white sugar

1/2 c. (110 g) brown sugar

1/2 tsp (2.5 ml) vanilla extract

Directions:

1.  Put all ingredients except vanilla extract into a small saucepan.

2.  Boil 5 minutes or so, until the blueberries have burst, the syrup is a beautiful blue, and it has thickened slightly.  Use a spoon to sample it and you’ll be able to taste that it has thickened slightly if you’re in doubt visually.

3.  Strain through a sieve into a bowl, squishing the berries a bit to extract more juice.

4.  Pour it back into the pan and boil a few minutes more.  Note that I did this rather than straining at the end because it was easier to see how the syrup was doing.

5.  Stir in vanilla.

6.  Remove from heat and let it cool a bit and it will thicken more.

Enjoy!


UPDATE 2mar2012:  Changed ml measurement to grams for water.  Why use milliliters, a measure of volume, when everything else (except vanilla) is in grams, a weight?!  Why not give vanilla in grams?  For a couple of reasons.  One is that my scales are in increments of 5 grams, but rounding up vanilla to 5 grams would have a vastly different effect on a recipe than a difference of 5 grams of flour.  The other reason is that most non-US recipe sites that I see still use teaspoon measurement increments rather than grams for ingredients with such a small quantity even if everything else is in grams.

Brigadeiros

I first saw these little gems on an America’s Test Kitchen (ATK) post.  They were just so cute!  Simple, too – just three ingredients + decorating candies (nonpareils)!   In all of the posts I found around the internet, none used vanilla, but they screamed vanilla to me, so mine have four ingredients + nonpareils 🙂   My little brigadeiros are not quite traditional, but they sure are good!

The other thing I noticed is that many of the recipes around the web had very little cocoa.  2 tablespoons, 3 tablespoons.  Ummm.  I guess I’m a chocoholic ’cause that’s not much at all to me.  Eight tablespoons, which is what ATK used did seem a bit much to me so I guess there are even chocolatier chocoholics out there.  I put in 7.  You could get away with 6, but I wouldn’t drop it much more or you may as well scoop the sweetened condensed milk right out of the can and into your mouth 🙂

Something else widely noted was that The United States’ version of sweetened condensed milk isn’t as sweet as that found in Brazil.  wow.  I have a sweet tooth, but I cannot imagine using something even sweeter.  If you’d like, using Nestle’s Quick chocolate drink mix was suggested in several recipes instead of cocoa to make up for the less sweet condensed milk we have.  I did not do this as they are plenty sweet to me.

I also added more butter for a creamier candy, and used natural cocoa instead of Dutch processed, so in the end, I tweaked this quite a bit, but I think you’ll like it.

ok.  enough background info.  Grab a can of sweetened condensed milk, some cocoa powder (regular, natural cocoa, not Dutch processed), some butter, and your vanilla and let’s get to this!

Ingredients:

1 can ( 14 oz, 397 g) sweetened condensed milk (_not_ evaporated milk)

7 tablespoons (40 g) natural cocoa powder (Penzeys is wonderful!)

1/2 stick (2 oz, 57 g) butter

1 tsp (5 ml) vanilla

Directions:

1) Cut up the butter a bit and put it in a small saucepan on medium-low heat along with the condensed milk and cocoa powder.

2) Keep stirring until you think your arm’s going to fall off, occasionally swiping a rubber spatula down the middle to see if it leaves a path.  Once it does, remove the mixture from the heat and stir in the vanilla.  This will take about 15-20 minutes.

3) Pour the mixture into a buttered 8″ x 8″ (20 cm x 20 cm) glass dish and refrigerate for 30 minutes.

4) After 30 minutes, pull it out and scoop the mixture into little balls using either your fingers or a small spoon and your thump to scoop it off.

5) Roll into small balls and roll the balls into nonpareils.  You could include various colorful ones and chocolate shot, or a mixture thereof.

Enjoy!

Dessert Reception

Hi all!  Over the coming weeks I’ll show you recipes for these, but right now, I would just like to show you pictures from a private wine/dessert reception that I made the desserts for this past weekend.

One of the goodies I made were ooey, gooey, chocolately Brigadeiros, a Brazillian candy which I took the liberty of making more chocolaty and less sweet as well as adding some vanilla to.

These are some of the tins that I used in making three kinds of tartlets…

The tartlets were Peas in a Pod, where I made a fresh blueberry pie filling and put a couple of berries on each of the tartlet shells,

Scheherazade, which I adapted from Flo Braker’s Sweet Miniatures, a tartlet with candied craisins (sorry Flo; fresh cranberries were not available; besides, I actually liked the craisins 🙂 and pomegranate seeds,

and Poirettes, also adapted from Sweet Miniatures, a tartlet with tons of flavor going on – pear, almond, rum (just a teeny bit), vanilla, lemon, apricot, and chocolate!  It came together beautifully…

Pardon the funky picture; I can’t get the blog to accept the rotated picture.  The Poirettes are in the middle with Cinnamon Twists (made out of a cottage cheese pastry dough!) surrounding them.

In addition to the tartlets, I made several cookies.  Drei Augen, also adapted from guess where? 🙂  yep, Sweet Miniatures, are an almond, shortbread german cookie (the name translates to three eyes) with a raspberry jam filling (sorry again Flo, I’m not a currant person so didn’t think I’d like currant jam in them.  I’ll try it sometime when I’m not making them for a reception).  I made four desserts for the reception from her book ’cause it was so perfect for this kind of event.  However, beware there are a few errors in the book 😦  Still a wonderful book tho!

The Drei Augen are the cookies around the outside.  In the middle are TCT bites, a triple chocolate torte made into bite-sized cakes.  Mmmmmm good! 🙂

Cream Cheese Thumbprint cookies I adapted from a recipe that I got from my aunt many, many years ago.  I’ve always loved these cookies, but have never done them as thumbprints before.  I wanted to add some color to them tho so voila!

Last of the cookies were a plain shortbread cookie, which I liked so much when I made these from thekeenancookbook.com, that I decided to use them here.  Unfortunately, I forgot to get a picture of them tho 😦  I also forgot to take a picture of the salted, burnt caramel flavored chocolate coins tho I put some in the freezer so I’ll still post these later.  I originally got the recipe from foodwishes.blogspot.com video recipes.

And the little boy showing off the cheesecake cookies with his hand?  My youngest munchkin…

Frosty the Fudgeman

Hi Blog!  I’ve missed you 😦  Let’s make some fudge shall we?  I have a recipe that was handed down from my Grandma to my Mom to me.  I’ve been making it since I was about 9 years old.  It’s quick, easy, creamy, and delicious.  Don’t have a candy thermometer?  No worries; you can still do this.

A word of caution.  While I started making this as a kid, please please please supervise closely if you are allowing your kid to make this.  I recommend making it yourself first, so you know what to expect.  Sugar burns are nasty.  Please be very, very careful. Also note, this pot is heavy when you pour it out; you’re pouring 3-1/2 pounds of fudge. Doesn’t sound like a lot of weight, but it sure feels it when you’re holding the pot in one hand and and scraping it out with the other.  Rest it on a hot mat if you need to.  And if you want seven pounds of fudge?  Don’t double it; make it twice.

Another word of caution.  It’s addictive 🙂

Here’s all you need:

Update: Be sure to check your labels to confirm all items are gluten-free if you are gluten intolerant!

semi-sweet chocolate chips, milk chocolate candy bars (It originally called for three 5-cent Hershey bars.  They’re a bit more expensive now :)), marshmallow creme, evaporated milk, and sugar:

oh, and a marble slab or plastic mold and some butter to coat.  If you don’t have these, then a cookie sheet or regular casserole dish will work just fine.

A candy thermometer will be handy to have, but is not an absolute necessity.  If you don’t have one, grab a clear glass and fill it with ice cold water.

Let’s talk candy cooking stages for a moment.  You’re going to put the milk and sugar into a large sauce pot and cook it for about ten minutes, bringing it to a stage of boiling called “soft ball” stage.  This is because when you drop a bit of this mixture into cold water, it will literally form a soft ball.  It will be 234 F (112 C) on your thermometer.  My thermometer says 240 F (116 C) is soft ball stage.  If yours does, too, ignore it or you’ll have grainy fudge.  Initially the milk and sugar mixture does nothing, and stays that way.  Then all of a sudden it decides it’s time to boil and and will look like this…

And it will rise. Fast.

See how it rose about an inch and is more golden colored?  Once it gets here, it will stay here a few minutes.  Watch the thermometer crepe up.  Again, if you don’t have a thermometer, just test your mixture.  If your water is ice cold and the mixture goes splat, it has not cooked enough.  Wait a minute and try again.  You’ll eventually see it form a ball.  Put your fingers in and feel it; it will be squishy.  If you cook it a bit too long, it will form a hard ball (hard ball stage) and if you cook it a lot too long you’ll eventually reach hard crack stage where the mixture will literally spin a hair in the cold water.  This is peanut brittle, not fudge.

Once you’ve reached softball stage, you simply remove it from the heat, add the chocolates and marshmallow creme, stir and poor onto your slab or into your mold.  I buttered my mold and added confectioner’s sugar for ease of release and to make it look like Frosty 🙂

Stover’s Fudge

Update: Be sure to check your labels to confirm all items are gluten-free if you are gluten intolerant!

4-1/2 c. (855 g) white sugar

1 lg can (12 oz, 359 ml) evaporated milk     [_not_ sweetened condensed milk]

1 lg package (12 oz, 340 g) semi-sweet chocolate chips

3 milk chocolate bars [1.55 oz. (44 g) each for a total of 4.65 oz (132 g)]

1 jar marshmallow creme (7 oz, 198 g)

2 c. nuts, optional

Cook sugar and milk together until soft ball stage. (See notes above recipe for candy stages.)  Stir constantly or it will stick.  Remove from fire.  Add marshmallow creme, chocolate chips, chocolate bars, and nuts (if using).  Mix well and poor into buttered dishes.  Cool.

This cools really fast when you pour it onto a cool surface so don’t worry about it running over the edge of the slab.

To serve, I cut pieces as needed.  If you cut it in advance they’ll dry out.  For gift giving, cut off small sections and wrap in plastic wrap.

Enjoy!