We’re going to talk about bread today. Remember that bread machine that you put out in the garage ’cause you never used it? Pull it out. You’re going to make this…

“But that didn’t come out of a bread machine!”
Nope, it didn’t, but the dough did. You _can_ get a good loaf out of a bread machine, but if you don’t want anyone to know how easy it was, you don’t want it to _look_ like it came from a machine 🙂
A bread machine has a great environment for making dough. It mixes the dough, kneads it, lets it rest in a just warm enough environment, and then lets you know it’s ready to be shaped and finished. All you have to do is toss ingredients into the machine, shape the ball of dough when it’s ready (easy peasy), let it rise, and bake it.
Before we get started, a few tips and tricks…
Tips and Tricks
Order of ingredients: I use the order given. However, I did recently discover that the order called for in my bread machine directions is different; apparently I forgot somewhere along the way 🙂 This has been working for me for years tho. Use your manufacturer’s recommendations if you know them.
Keep the salt separate from the yeast to start with or you’ll weaken or even deactivate your yeast.
Temperature of ingredients: My machine has a rest time in which it brings all ingredients up to room temp. If yours does this, cold water will be fine. If not, warm the water a bit to take the chill off or you’ll kill the yeast.
Yeast: If you don’t have instant yeast, I recommend you buy a packet of “bread machine” yeast instead of active dry so it’ll stand up to the bread machine.
Parchment paper: I love it (not the cheap stuff tho). You can use it over and over, until it’s brown and brittle (2-5 uses, depending mostly on temp). I understand a Silpat mat works similarly, but I’ve not used one.
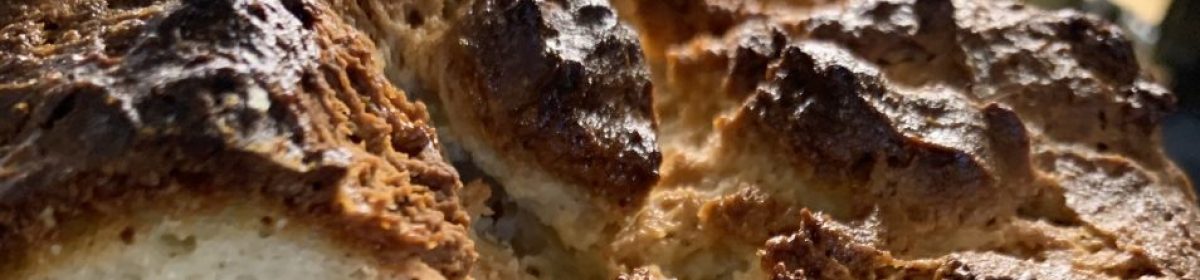
Ready? Here we go. This is what you have to look forward to…

Ingredients
8 oz (240 ml) water
1 tsp salt
1 T (15 g) sugar
2-3/4 c. (330 g) bread flour
1-1/2 tsp instant yeast (I use SAF instant yeast in the red and white bag)
1 small egg
Directions
Put all ingredients except the egg into your bread machine pan in the order recommended by the manufacturer (see Tips and Tricks above). Please make sure the paddle to your bread machine is actually in the proper place and not lost in the box somewhere.
Set your machine to “dough” and hit start.
When the dough is ready, pull it out, squish it around in your hands, and roll it up into a log on a lightly floured surface. Place the log on a piece of parchment paper on your baking sheet (see Tips and Tricks above). Now there are different techniques to rolling a log, but don’t worry about it. If it looks like a log, it’ll be fine.
Slash the top with a sharp knife (or lame if you have one) three or four times. Now put a little oil on some plastic wrap and spread it around so it’s all greasy. Cover your dough with it. Top that with a towel and leave it for an hour in a warmish spot. If your house is cool, it may take a little longer (can heat oven to 100, turn it off immediately, and let it rise in there if you like). It should be about double in size.
Preheat your oven to 400F (200C). Wait for the oven to heat up before you bake your bread!
Beat the egg with a fork or egg whisk in a small bowl. If it’s not mixing well, add 1 T water. Brush the egg mixture gently over your loaf (you’ll have leftover).
Bake for 20 minutes. If it’s a beautiful brown and you thump it and it sounds hollow, it’s done.
Enjoy!


